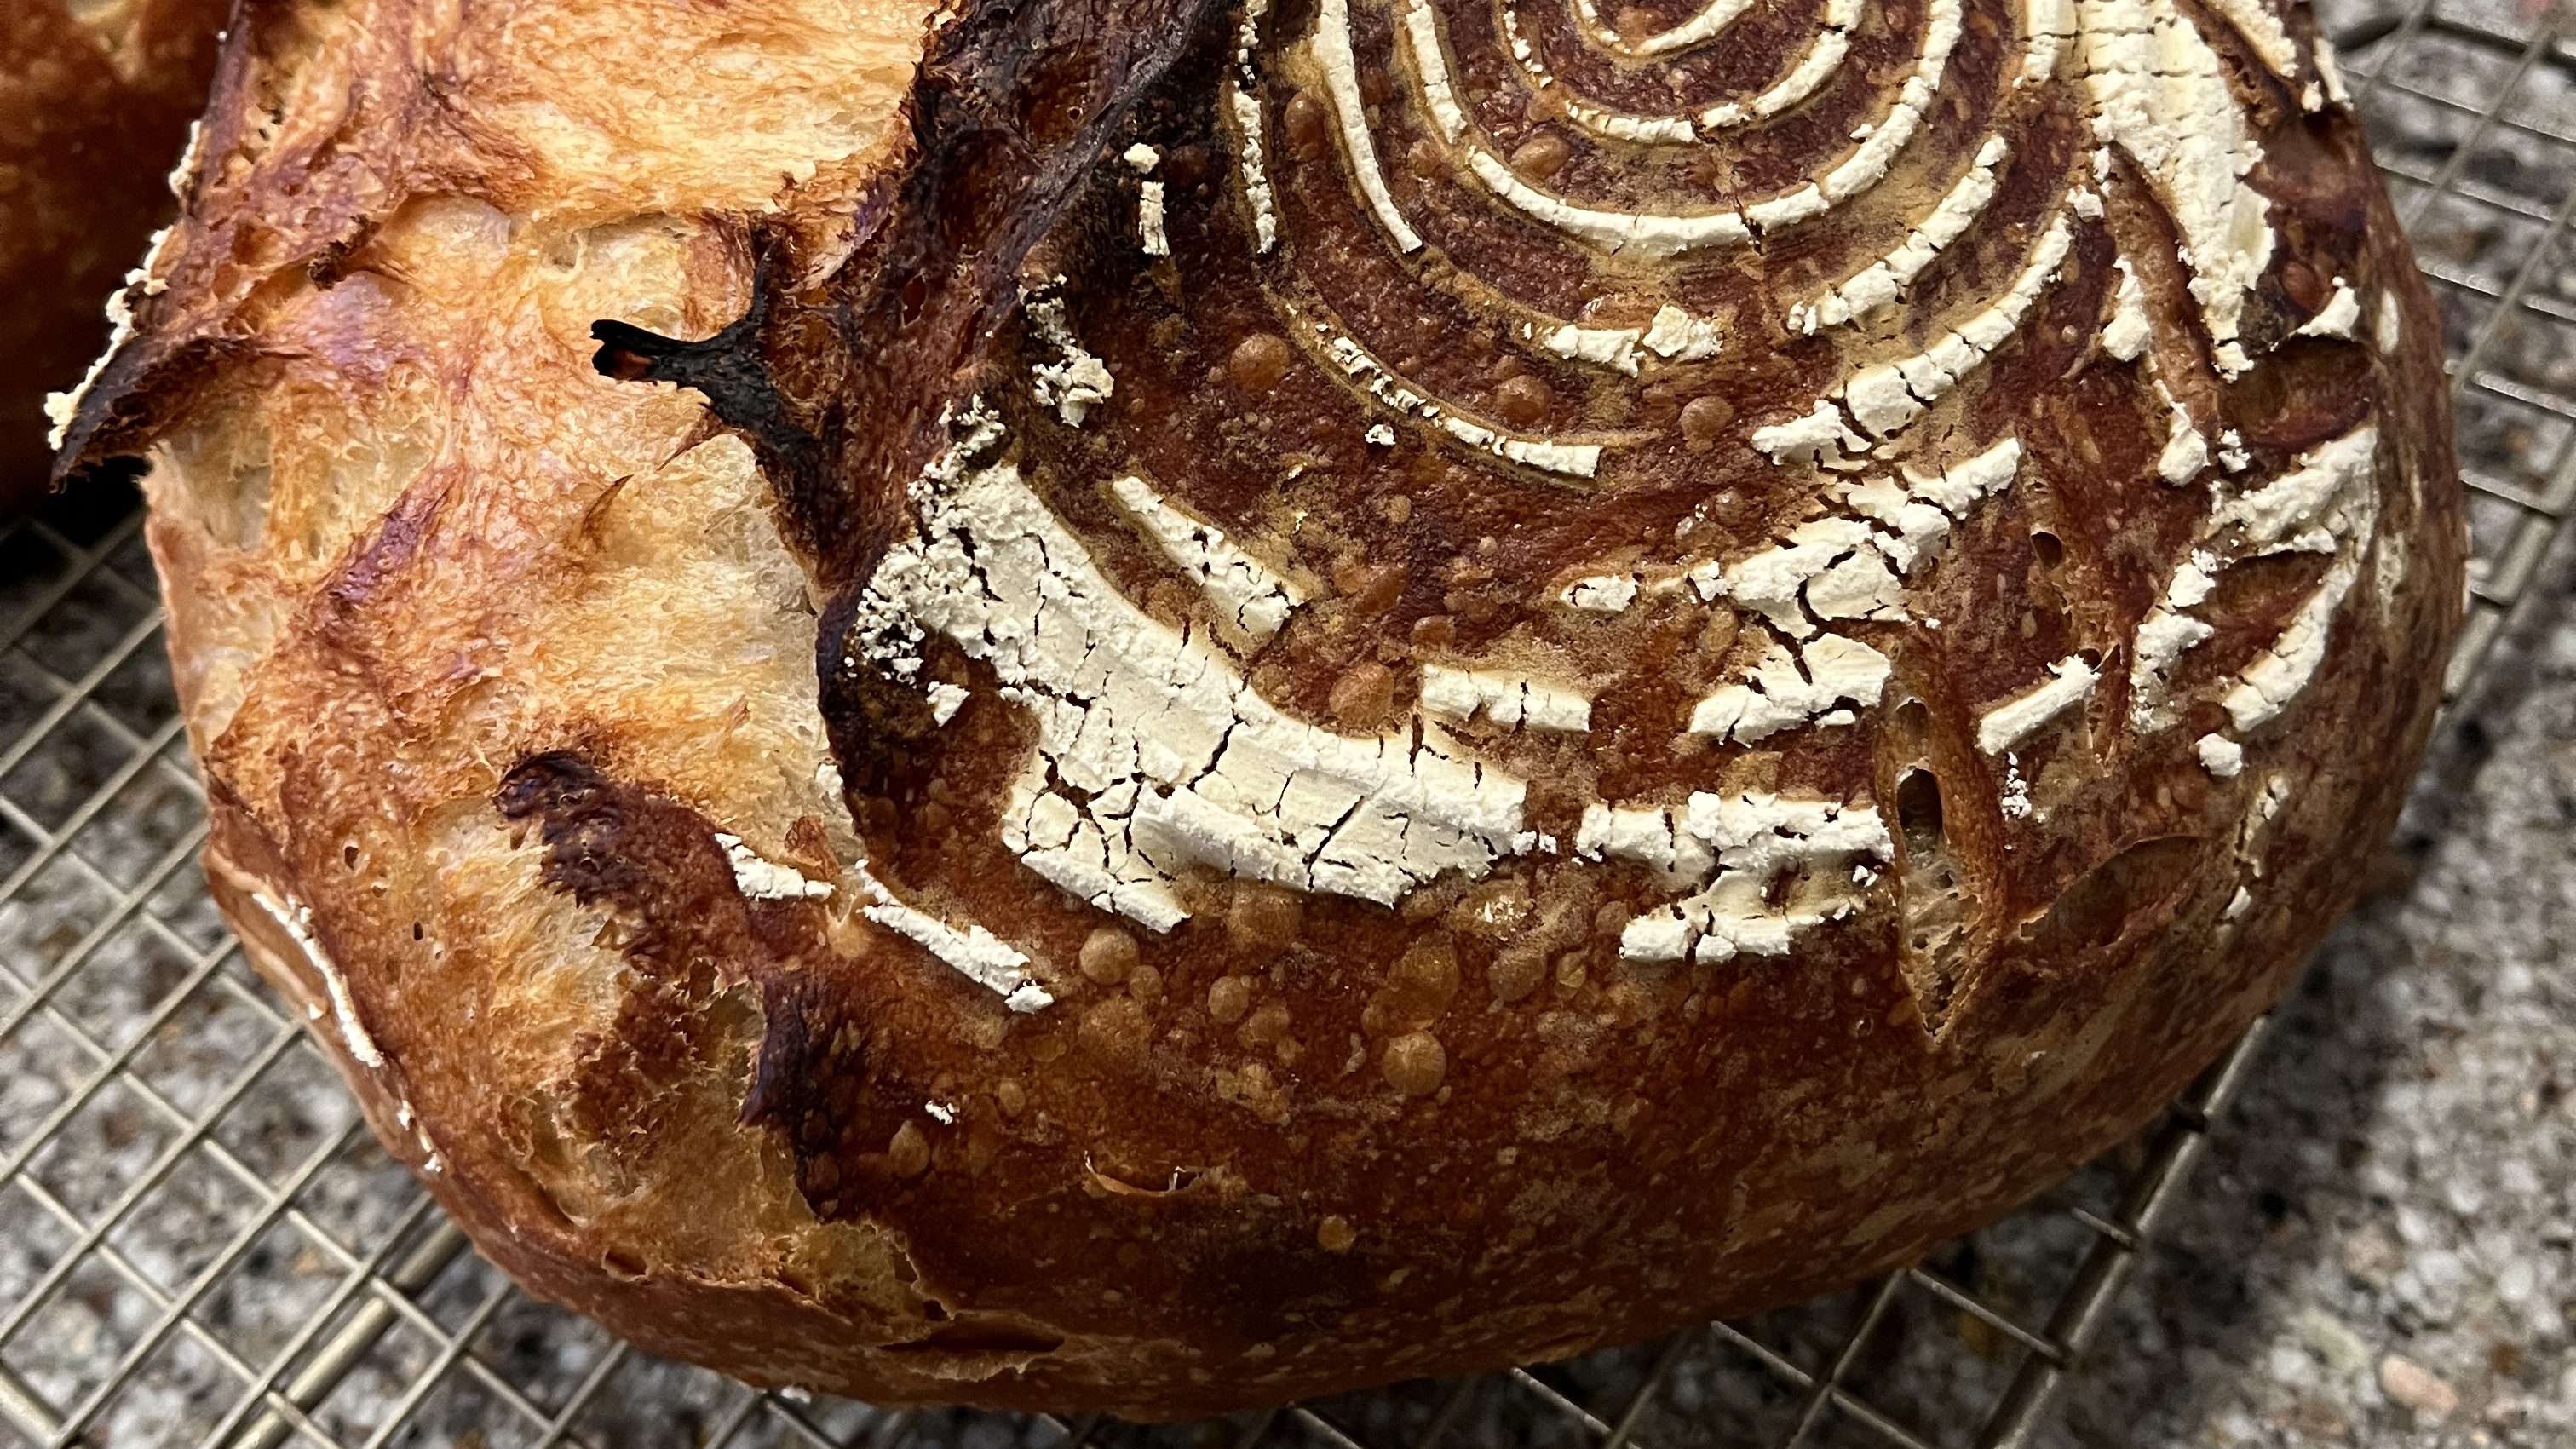
My Sourdough Journey
In early 2021, during my paternity leave, I embarked on a sourdough journey that would forever change how I think about food. I didn’t want to just bake bread; I wanted to create something from scratch, nurture it, and see it thrive. Like many beginners, I tried several recipes and techniques, and after some trial and error, I landed on a process that worked. From there, I kept tweaking and refining until I could bake consistently delicious loaves. But I’m not done. Sourdough is a lifelong exploration, and I expect to keep learning and experimenting.
This journey has also been about more than just bread. I’ve struggled with psoriasis and eczema my entire life, and shifting to healthier, homemade foods like sourdough has been transformative. Improving my gut health through fermented foods has directly improved my skin. The connection between what I eat and how I feel has never been clearer.
Tools I Swear By
The right tools can make maintaining a sourdough starter much easier and more enjoyable. Here are the ones I rely on:
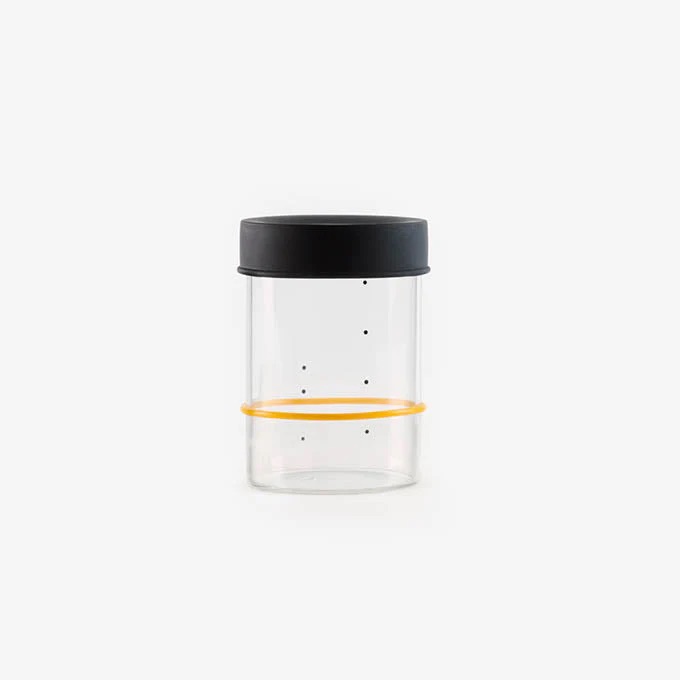
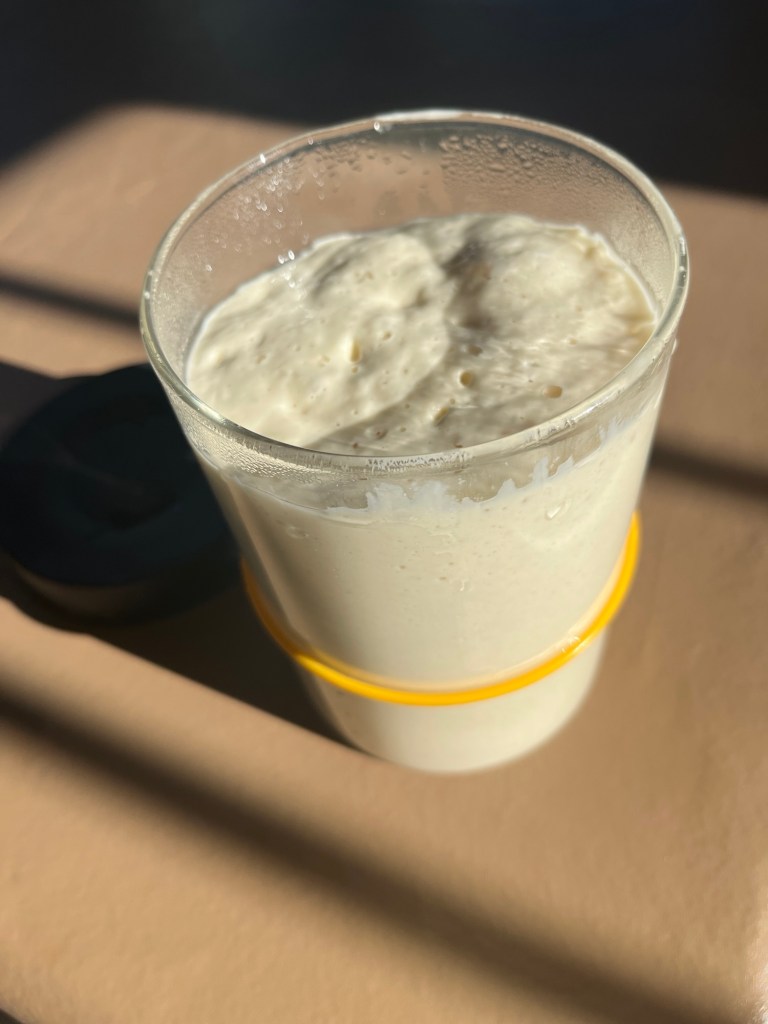
I’ve tried Weck jars, mason jars, and KneadAce containers, but Sourhaus jars are in a league of their own. The silicone lid keeps the starter from drying out and eliminates the dreaded task of scraping dried starter off the jar’s edges. Before I started using these jars, I was switching containers constantly because starter would dry and crust over the lip. These jars have saved me so much time and frustration. I use a pint and quart jar regularly.
👉 For transparency, this link gives you 10% off, and I get a small kickback if you spend over $99.
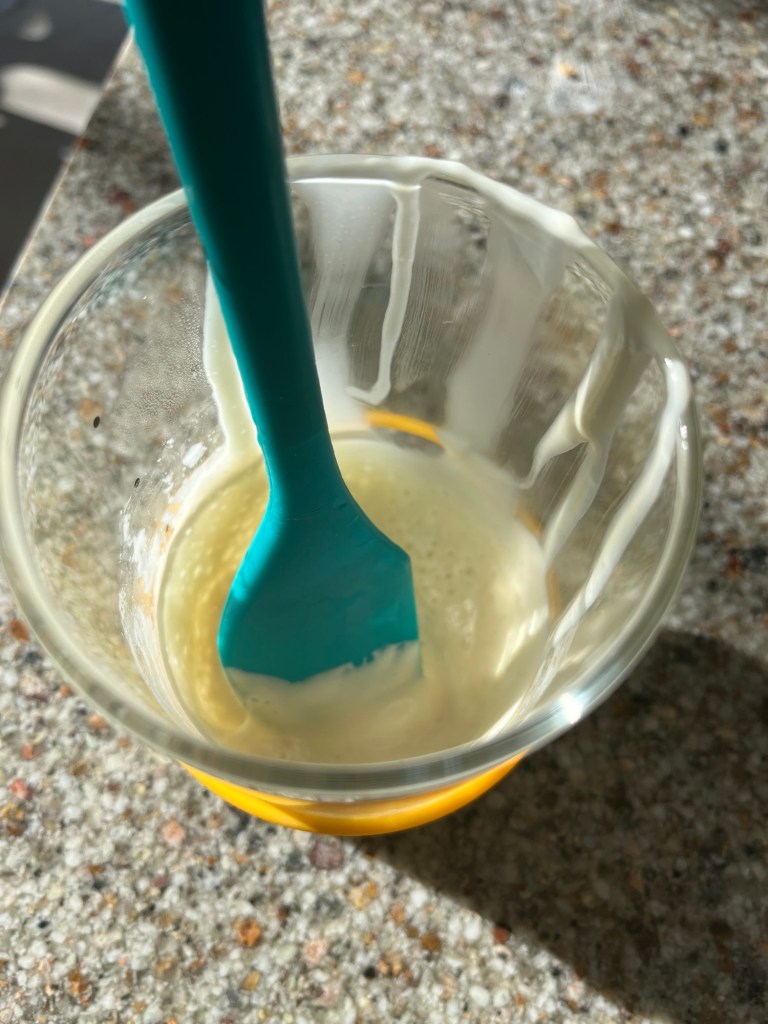
• A sturdy silicone spatula
Perfect for mixing starter and scraping down the sides of your jar without leaving any residue behind.
• King Arthur All-Purpose Flour
I buy this in bulk at Costco. It’s reliable, consistent, and works beautifully for feeding starter and baking bread.
Measuring by weight is essential for feeding your starter accurately. A good scale ensures your ratios are spot-on every time.
• Digital Thermometer
Alpha Grillers Digital Thermometer – An instant-read thermometer is essential for ensuring your milk cools to the correct temperature before adding the starter.
Understanding Temperature
Sourdough starter is alive, made up of living bacteria and wild yeast that thrive within specific temperature ranges. Temperature has a direct impact on how quickly your starter ferments:
• Ideal range: 75–82°F. This is the sweet spot where your starter will rise consistently without being too fast or too slow.
• Warmer temperatures: Speed up fermentation, which is great if you’re in a rush, but be cautious—if it gets too warm, the starter can over-ferment and weaken.
• Cooler temperatures: Slow down fermentation. This is why storing starter in the fridge is effective for occasional bakers.
👉 Pro Tip: When feeding your starter, using warm water can give it an extra boost. I like to use water that’s about 90°F—it helps wake the starter up and encourages faster activity. Just make sure the water isn’t too hot (over 100°F) as this can harm the bacteria and yeast.
When you refrigerate your starter, the cold environment essentially puts it into “sleep mode,” slowing down the activity. However, once removed from the fridge, it can take one or two feedings (sometimes more, depending on how long it’s been dormant) to become bubbly and active again.
The Many Ways to Maintain a Sourdough Starter
There’s no one-size-fits-all method for maintaining a sourdough starter. Your approach can depend on how often you bake, your schedule, and even your climate. The beauty of sourdough is its resilience—your starter can sit for several days on the counter or hibernate in the fridge for months. Let’s dive into the two main methods:
Method 1: Routine Baking (Countertop Maintenance)
If you bake often, keeping your starter on the counter is the way to go. This method keeps your starter active and ready to use at a moment’s notice.
Steps:
1. Determine the amount you need.
For example, if your recipe calls for 300 g of starter and you currently have 50 g, you’ll add 150 g of all-purpose flour and 150 g of warm water.
2. Mix thoroughly.
Stir until the starter, flour, and water are fully combined. A silicone spatula is perfect for this.
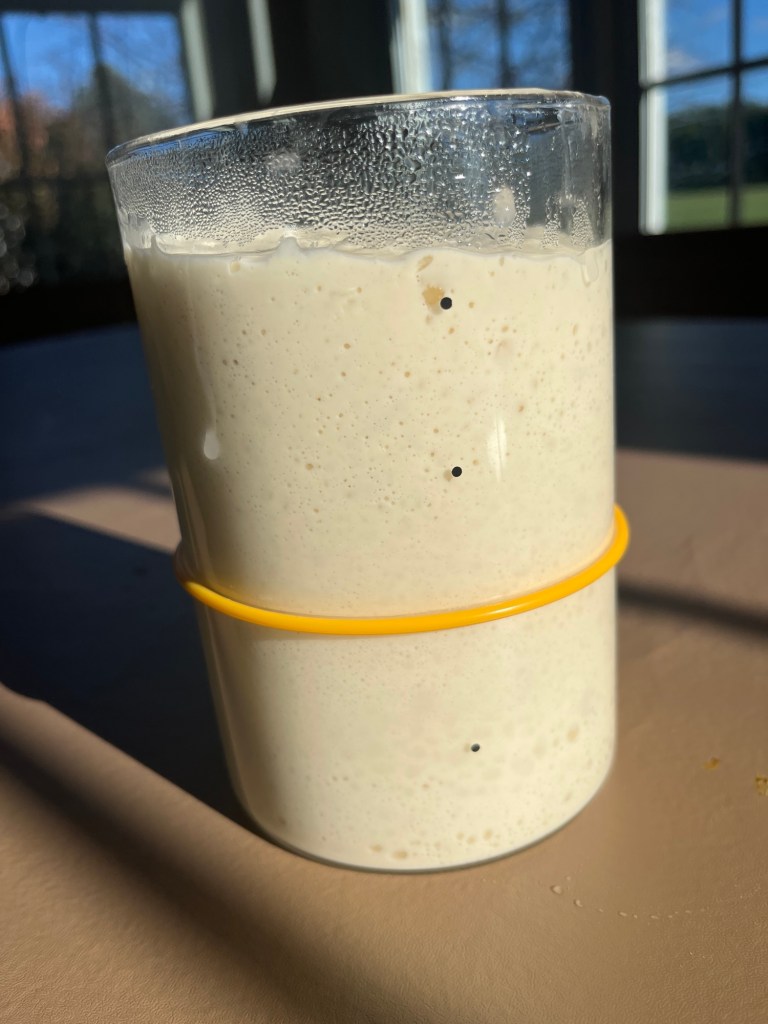
3. Let it rise.
Allow the starter to double in size at room temperature. Depending on your kitchen temperature and the ratio you use, this can take 4–8 hours.
4. Use and replenish.
After using the starter in your recipe, feed what’s left to maintain it.
👉 Why I love Sourhaus jars: Their silicone lids keep the starter from drying out or forming a crust. Before using these jars, cleaning crusty starter off jar threads was a nightmare. And trust me—dried starter is like concrete. These jars eliminate that frustration completely.
Method 2: Occasional Baking (Refrigerator Maintenance)
If you don’t bake as often, this method is a lifesaver. Your starter can rest in the fridge for weeks or even months, provided it’s sealed and fed properly beforehand.
Steps:
1. Refrigerate your starter.
Place your starter in a sealed jar and store it in the fridge. It can sit untouched for up to two weeks or more without feeding.
2. Re-activate when ready to bake.
Take your starter out and let it warm to room temperature slowly. Feed it at a 2:1:1 ratio (e.g., 100 g starter, 50 g flour, 50 g water) to wake it up faster.
3. Feed again if needed.
After one or two feedings, your starter should be bubbly and active—ready for bread-making. Be patient with this process, as refrigerated starter can be sluggish at first.
4. Use and return.
Once you’ve used the starter for baking, feed the remainder and return it to the fridge.
👉 Caveat: Starter stored in the fridge might take extra time to wake up fully. If it’s been hibernating for months, it may require a few feedings to get back to its active, bubbly state.
Mixing Ratios: Controlling Growth and Activity
Adjusting feeding ratios gives you control over your starter’s rise time:
• 1:1:1 (standard): Equal parts starter, flour, and water.
• 2:1:1: Speeds up the rise for quicker baking.
• 4:1:1: Even faster rise for those in a hurry.
• 1:2:2: Slower rise for more flexibility.
Experiment with these ratios to find what works best for your baking schedule and environment. Regular feeding on the counter will also help you learn how your starter rises and falls, making this process second nature.
Tips for Sourdough Success
• Keep it clean.
Use a damp paper towel to wipe down the rim and top section of your jar after feeding. This prevents dried starter from building up, which can be a hassle to clean.
• Don’t overfeed!
Feeding your starter too often can hinder its activity. A starter is ready to bake when it peaks but shouldn’t be fed again until it has dropped back down and consumed the gluten. Skipping this occasionally is fine, but avoid making it a habit.
• Measure in grams.
Sourdough recipes rely on precise measurements, which is why they’re typically written in grams rather than cups or tablespoons. A kitchen scale is an essential tool for accuracy and consistency.
• Be careful with your plumbing!
Some suggest never putting sourdough down your drain, and that would be my suggestion as well…. Unless you’re careful. For me, my sink is the last stop before my septic tank, and I figure the cultures will help with that process, so I just make sure to flush with a good amount warm water when I’m done. If it dries in the pipes, it will take a plumber cutting out sections to replace after finding the problem. Nobody wants that bill!
Final Thoughts
Sourdough starter is a companion, not a chore. Whether you’re an avid baker or an occasional enthusiast, there’s a method that will suit your lifestyle. My 2 methods above are just two points in a spectrum. You can use it for a week, and then you can put it in the fridge for two weeks if you need a break. It’s flexible! Have fun experimenting, and don’t be afraid to ask questions. Leave a comment or send me a message—I’m always happy to chat sourdough! 😊
You can also use different flours, like rye, spelt, whole wheat, or even gluten-free options, but I’ll talk more about that in my next post about starting your own starter.


Leave a comment